
A mini Bitcoin miner can be an excellent first hardware project: it exposes the relationship between firmware, a mining pool, shares, hashrate, cooling and a receiving wallet without the power and sound of a full industrial machine. It can also be a fun solo-mining experiment. The category is often described too loosely, however. A NerdMiner-style ESP32 display and a Bitaxe-class single-chip ASIC are not the same product, and neither should be sold as a predictable income machine. This guide adapts Oleg Angelsky's original setup article into a model-aware, security-first workflow for 2026.
Choosing a device
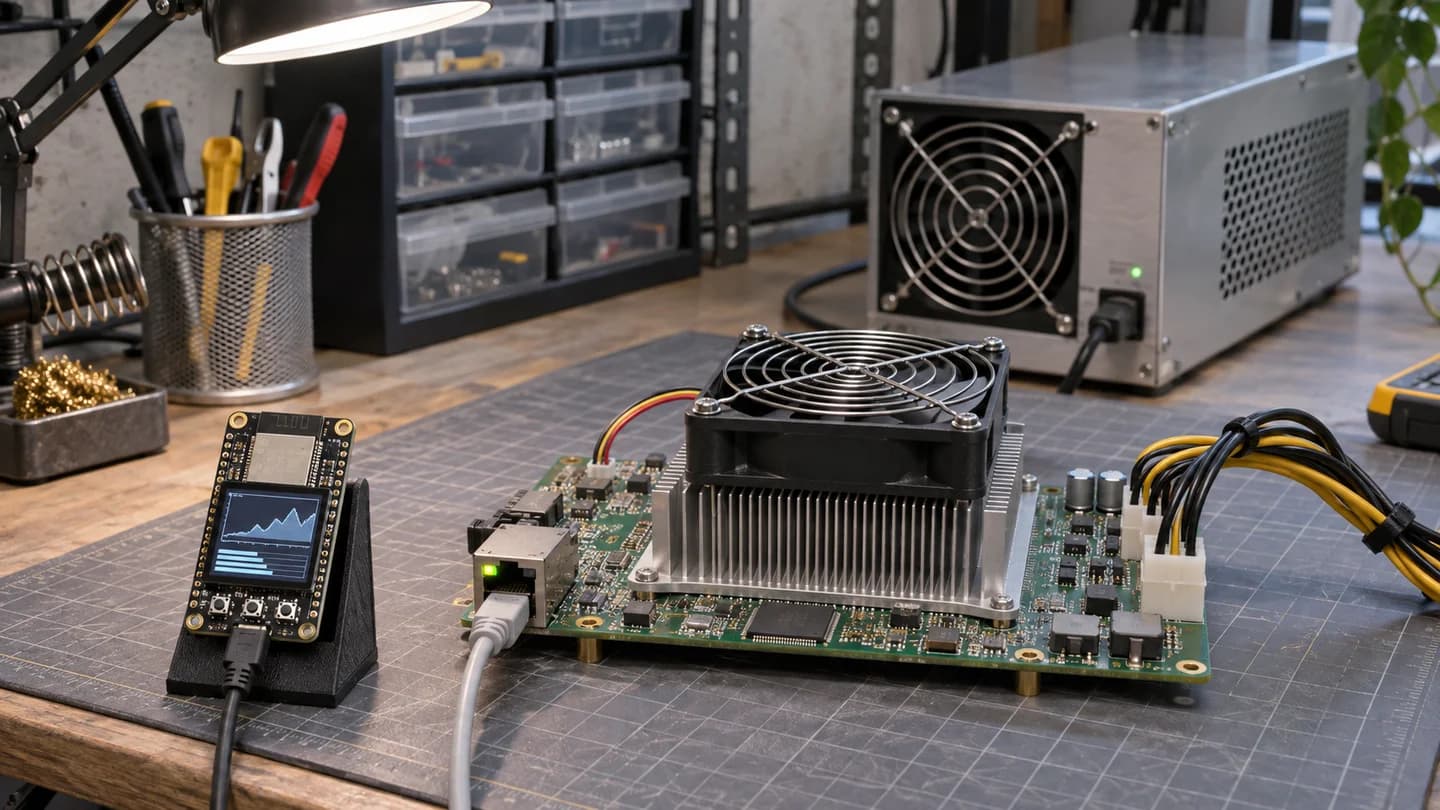
NerdMiner uses an ESP32 microcontroller. Choose it to see how a device connects to a pool and submits shares. Check the board, display and supported pool before ordering.
Bitaxe has a dedicated SHA-256 ASIC chip. Choose it for hands-on experience with ASIC mining, including hashrate, temperature and cooling. Ask for the board revision, chip, power supply, enclosure and noise at stock settings.
Power and payouts
An accepted share in solo mode shows that work reached the pool. It does not trigger a payout. Estimate energy from wall power: a hypothetical 20 W device running for 30 days uses 14.4 kWh.
Make the first connection on a controlled network
Inspect the board and connectors for transport damage, seat the cooling system correctly and use only the voltage and current specified for that exact build. Place the device on a stable, non-combustible surface with unobstructed airflow. On first boot, many devices create a temporary Wi-Fi access point or show a QR code. The network name, password and reset procedure vary by manufacturer and firmware; use the included card or the official project documentation instead of assuming a password copied from another tutorial.
Prefer a guest or IoT network that cannot reach sensitive home devices. Do not expose the miner's web interface to the public internet and do not configure router port forwarding. After joining the temporary access point, open the local setup page, select the intended Wi-Fi network and set a strong device or admin password where supported. If the QR route fails, use the local IP shown by the device, your router's client list or the discovery method documented by the firmware.
- Verify the exact PSU before applying power
- Use the model-specific onboarding credentials and reset method
- Isolate the miner on a guest or IoT network
- Never expose the local web panel directly to the internet
Configure the pool, worker and receiving address carefully
“Solo mining” can mean two different architectures. In true solo mining, the operator builds block templates through a Bitcoin node and keeps full responsibility for connectivity and validation. A solo pool provides a simpler Stratum endpoint but still has an operator, fee schedule, payout policy and technical rules. If the device finds a valid block through that pool, the amount paid can be net of the pool fee and governed by its terms; “the entire block reward with no conditions” is not a universal promise.
Enter only a Bitcoin receiving address that you control and have verified. A current native SegWit address beginning with bc1 is a sensible default where the selected pool supports it, but pool documentation is authoritative. Do not paste a seed phrase, private key or Lightning invoice into miner firmware. An exchange deposit address may change or carry crediting conditions, so a self-custody receive address is usually easier to verify. Confirm the pool hostname, port, protocol, payout rules and worker naming before saving; configure a backup endpoint if the firmware supports it.
- Check whether the service is a pool or a solo-pool endpoint
- Read the fee, payout and block-crediting rules
- Use a verified receive-only Bitcoin address
- Never enter a seed phrase or private key
Validate operation—and interpret the statistics correctly
After reboot, verify that the reported hashrate stabilizes, temperature remains within the supported range, fan control works and accepted shares appear at the pool. A rejected share rate that persists can indicate a wrong endpoint, unstable tuning, network delay or clocking problems. The pool dashboard and device panel should agree on the worker identity, while short-term hashrate readings may naturally vary.
Shares prove that useful work reaches the pool; they are not Bitcoin payouts in a solo scheme. “Best difficulty” records the strongest submitted share so far, not money earned. The chance of a small miner finding a block is approximately its hashrate divided by total network hashrate for each block opportunity, so the odds for a desktop device are extremely low and change with the network. Treat it as an experiment or lottery-like hobby, never as rent money or a promised daily return.
- Confirm stable hashrate, temperature and accepted shares
- Investigate persistent rejects or thermal throttling
- Best difficulty is a progress statistic, not a payout
- Solo outcomes are highly variable and may never occur
Protect the device with official firmware and conservative cooling
Use releases from the official manufacturer or project repository and match them to the exact board. Save the current configuration before upgrading and avoid unknown firmware images distributed through social channels. Open-source does not make every compiled file trustworthy. Keep the local panel protected, update the Wi-Fi credential after onboarding where supported and review the device list on the router periodically.
Dust, blocked fins, a failed fan or aggressive overclocking can overheat even a small board. The official Bitaxe firmware project explicitly warns that overclocking without adequate cooling can damage hardware. Begin with stock settings, monitor chip and voltage-regulator temperatures, keep cables out of the fan path and shut down if the fan stops or temperatures exceed the documented range. Small size reduces the heat load; it does not remove electrical or fire-safety responsibilities.
- Download firmware only from the exact official project
- Back up settings before an upgrade or reset
- Start at stock frequency and voltage
- Keep fins clean and temperature alerts visible
Request a quote
ForMiners sources both configurations on request. Include your delivery country, noise limit and whether you need an assembled kit. Ask for the exact configuration, lead time and warranty.
A good mini-miner project begins with correct expectations
A compact Bitcoin device is one of the most approachable ways to learn how mining hardware talks to firmware, pools and a wallet. Its value comes from transparent hardware, safe networking, stable cooling and honest interpretation of shares and probability. Identify whether the product is a demonstration device or a real ASIC, follow the exact official setup route and treat solo mining as a very-low-probability experiment. ForMiners can source a suitable build and help make the first connection correctly.
Sources and further reading
Sources support the planning method; project-specific engineering and local compliance review are still required.